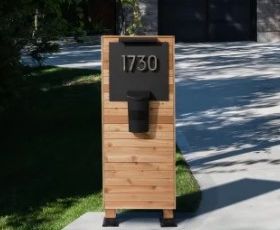
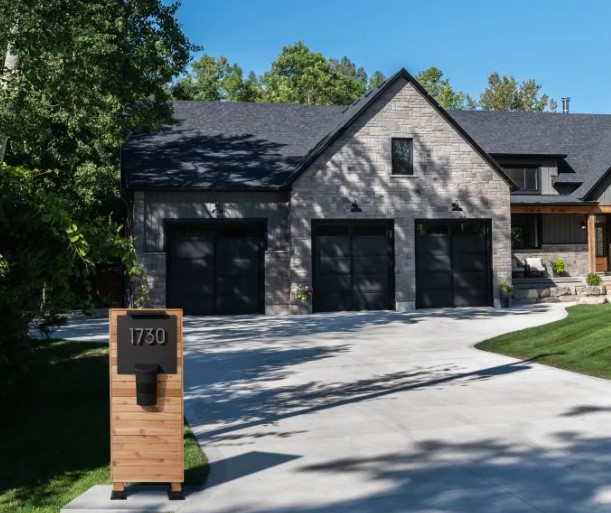
Modern Mailbox with Address
- (2) 4” x 4” Cedar (8’ lengths)
- (1) 2” x 4” Pressure Treated (10’ length)
- (48) 1” x 3” Cedar (24” lengths)
- (2) 1” x 6” Cedar (8’ lengths)
- (1) 20” x 20” Pressure Treated Board
- (2) 4” x 4” Black Steel Post Bases
- Construction Adhesive
- Mailbox & House Numbers
- (2) Black LED Solar Lights
- BeautiTone Exterior Paint
- Drill
- Sander
- Mitre Saw
- 1 ¼” Deck Screws
- 2 ½” Wood Screws
- Measuring Tape
- Paint Brush
- Safety Goggles
- Pencil
Assemble all the materials and tools for your project.
This project should take 4 hours (Does not include waiting for paint or adhesive to dry).
Difficulty: Beginner (Easy)https://www.homehardware.ca/en/projects/diy-modern-mailbox
1. Assemble all the materials and tools for your project.
2. Measure, mark and cut:
(2) 4” x 4” Cedar (66” lengths)
(1) 2” x 4” Pressure Treated (17” length)
(1) 2” x 4” Pressure Treated (24” length)
(1) 2” x 4” Pressure Treated (58 ½” length)
(48) 1” x 3” Cedar (24” lengths)
(2) 1” x 6” Cedar (61” lengths)
(1) 1” x 6” Cedar (26” length)
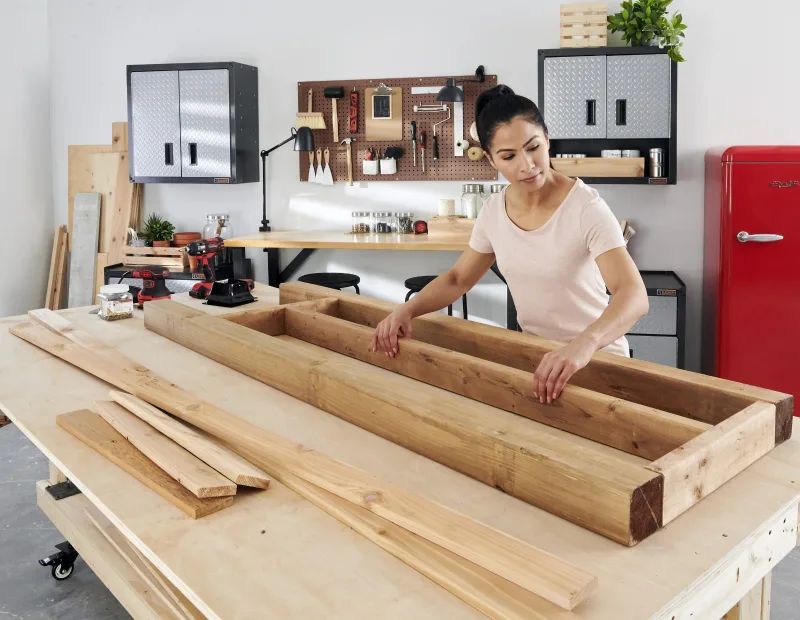
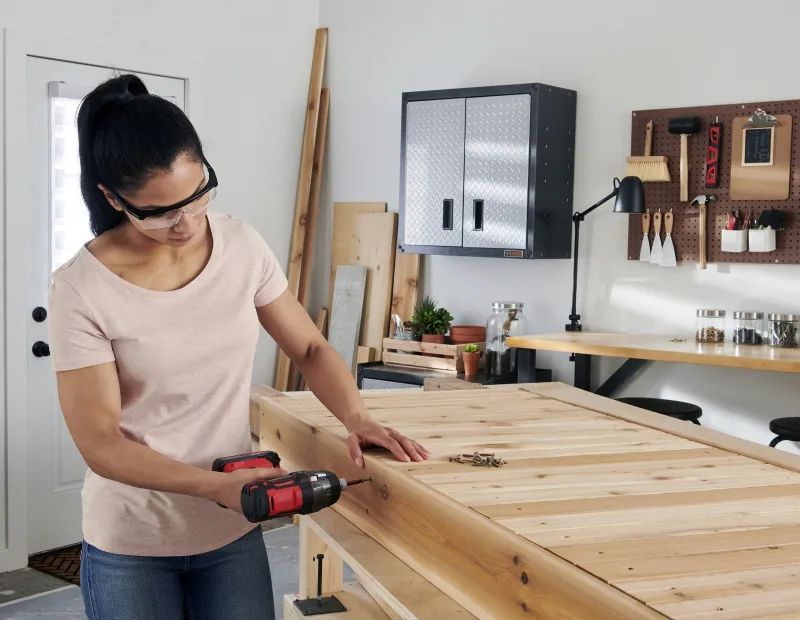
BUILD THE FRAME Attach the two 4” x 4”s with the two 2” x 4”s (the 24” piece across the top of the 4” x 4”s and the other 6” from the bottom between the two 4” x 4”s). Then, measure and mark the centre of the two 2” x 4”s at the top and bottom of the frame. Countersink and screw the 2” x 4” (58 1/2 ” length) down the centre.
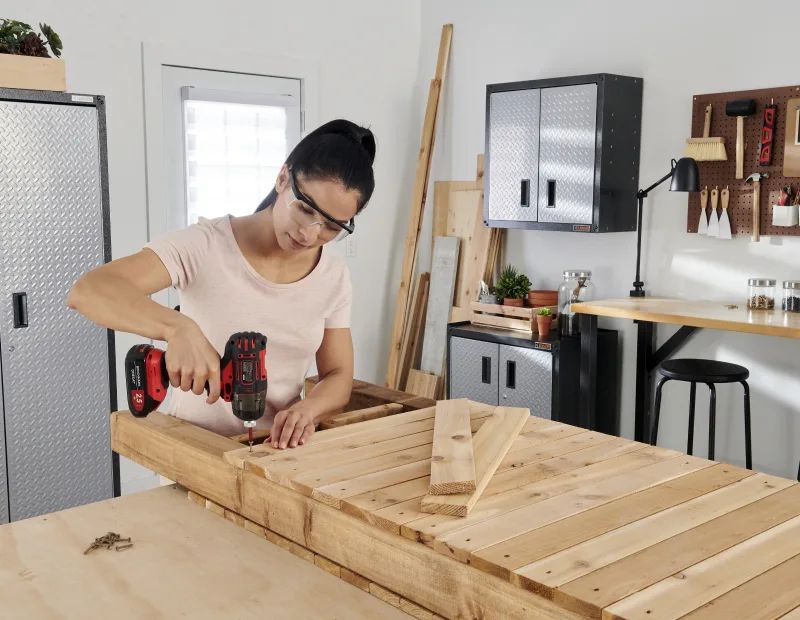
ATTACH THE SLATS On the front of the frame: Tightly attach the 1” x 3” cedar slats next to each other (leaving no spaces) until you reach the bottom of the 2” x 4” piece. Then, repeat on the back of the frame.
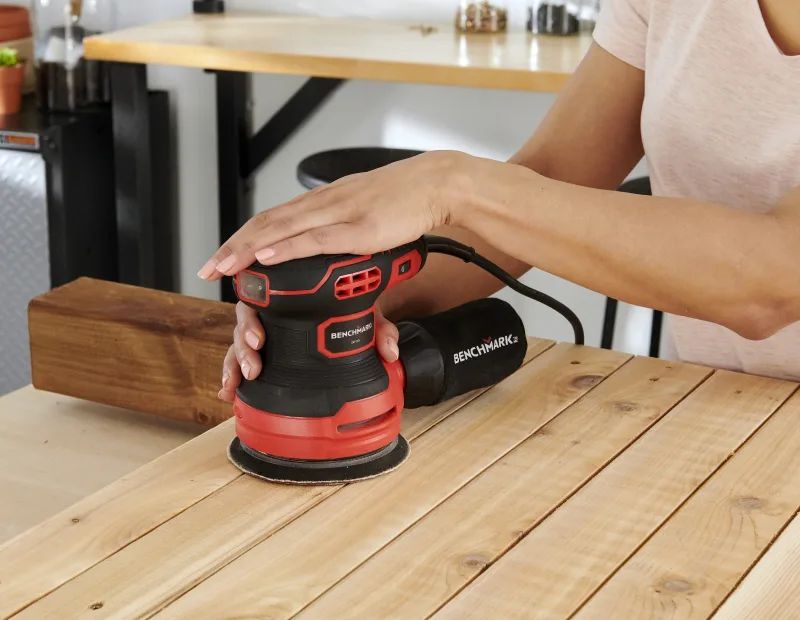
SAND THE SLATS Sand along the edges of the three 1” x 3” cedar pieces.

CUT TWO PIECES TO FINISH THE ENDS Take the 26” piece and cut a 45° angle on both sides, in opposite directions (ensuring the inside of the 45° angle measures 24”). Then, take the 61” pieces and cut one of the ends at a 45° angle.
Attach the 26” piece by countersinking and screwing to the top of the frame. Then, do the same to the two 61” pieces along the sides.
ATTACHED THE END CAPS 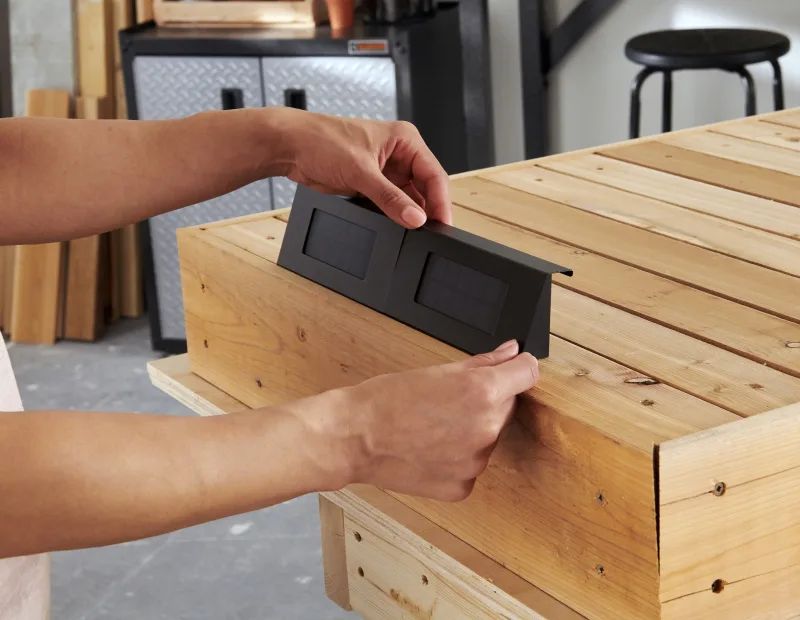
ATTACH THE SOLAR LIGHT Measure to ensure the solar lights are centered, then attach side by side (follow install instructions on the package).
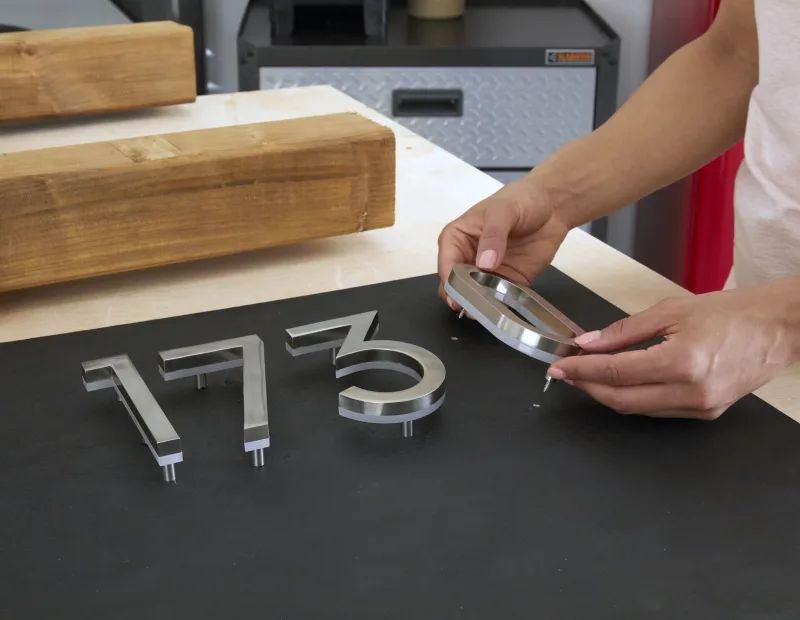
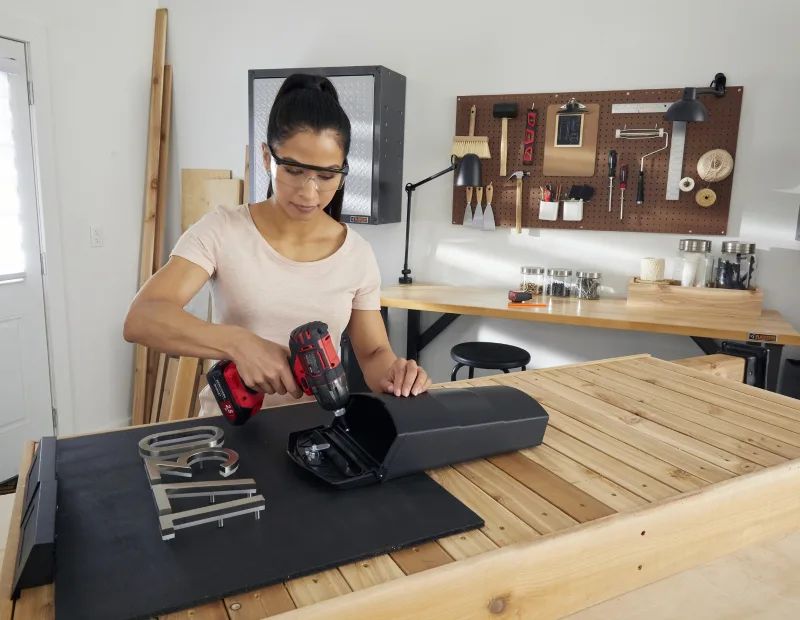
NOW THE HOME NUMBER Once you’ve painted the 20” x 20” panel (and it’s completely dry), center and attach the house numbers to the front (follow instructions on the package).
Add constructive adhesive to the back of the panel. Then, attach it to the centre of the frame (on the front) – directly underneath the solar lights. You will need to clamp down on the panel to the mailbox front and let it dry overnight.
AND THE MAILBOX ITSELF Measure to ensure your mailbox is centered, then screw into the panel.
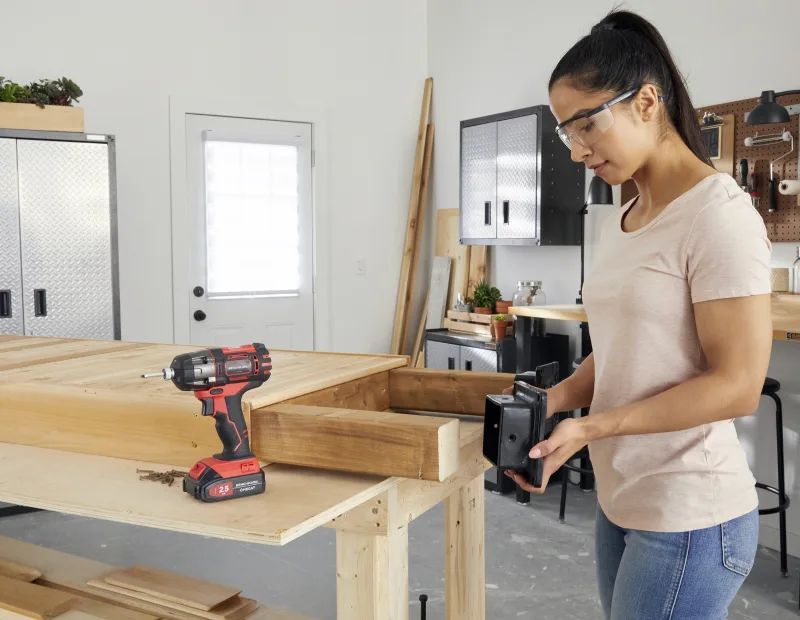
SCREW ON STEEL BASES
Attach the 4” x 4” black steel post bases to the bottom of both posts. Screw them in. These post bases are meant to be screwed into cement or wood base for durability and security.
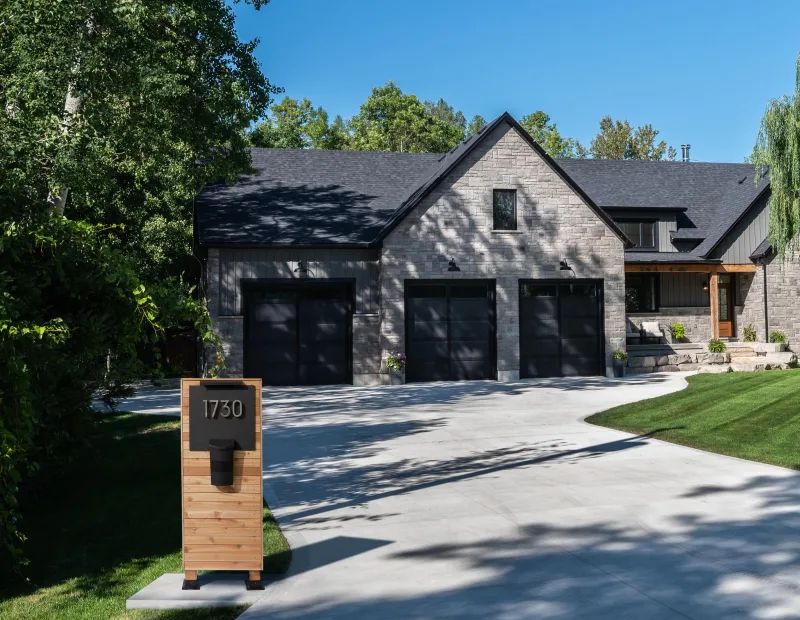
FINISHED! Your modern mailbox is now complete. Find your ideal spot and secure your mailbox. Now you can look forward to getting the mail.

